| Home Page
Changing map name
using notepad to add vehicles and object names
Making your own mod
RFA extractor/maker
Changing Music and more...
Editing tools
MB Mapeditor 1.2/editor42
changing loadscreen pictures
using co-op / bots
Desert Combat conversion for RTR maps
Desert combat conversion BF1942 maps
get RTR vehicles to show up in game
Battlecraft
vehicle spawn times and misc stuff
easy texturing...
Contact Me
|
|
Here we will explain how to change the pictures using photoshop 7
If you have a custom map then you have to have your own load screen and thumbnail pictures to go with it.
|
 this is the thumbnail from berlin
when you choose a map to play they all have pictures that represent the map ..here i will tell you how to change it..
this is the thumbnail from berlin
when you choose a map to play they all have pictures that represent the map ..here i will tell you how to change it.. |
|
Adding the little icon next to map name in the maps list:
here i will explain how to add your own custom icon next to your custom map (ex:DC icon,EOD icon )
first go into photoshop and select new,then set the pixels to 16x16
name it what ever you want ,i will be using icon for my example
now it will make a small box
now all you have to do is add what you want to the little box for your icon,yes its small (working on better way) i use copy and paste or just give your icon a distinct color
now save your new icon to a safe place as a .dds format
now we need to open the menu folder and open the init.con file (in the map you have extracted using notepad )
now at the bottom where it says game.setloadpicture.......under that add these lines
game.setmapid "bf1942"
game.setserverinfoicon ../../bf1942/levels/"your map name"/menu/icon.dds
now save that and now go to where you saved your icon.dds and copy and paste that in the menu folder
now pack up your map and check out your own custom map icon in the map listings
|
|
Here we will paint the thumbnail.dds
First open photoshop and choose file then open.
now go to the file you have extracted.heres the path
c:/bf1942/levels/map name/menu folder/thumbnail.dds
now you can just use photoshop to paint over the image..then do a "save as" then choose the existing thumbnail.dds and choose yes when it asks to over ride existing picture.
now when you choose your custom map the picture will be the one you did.
Changing thumbnail with a picture
to make your own custom thumbnails here is the easiest way i have found to do it..
using photoshop 7
after you have extracted your map open photoshop 7 and choose file/open/c:/bf1942/levels/map name/menu
now choose the thumbnail.dds and open it
now open the picture you want to use(resize if needed to fit more in thumbnail-select image then resize)
now put the thumbnail.dds picture and the one you want to use side by side
now choose the clone stamp tool
now set the circle just larger than the thumbnail picture (250 is what i use)now hold down the ALT key and left click (twice) to set area you want to clone
now put arrow in center of thumbnail picture and left click
now you should see the changes
for best results using photoshop,paint the thumbnail white before cloning onto to get best picture.or click more and the picture becomes clearer and cover existing one..
and if your doing maps from scratch like lacy is you can make a folder and copy and paste an existing thumbnail.dds from any map and use it for their own..i do it...goodluck
|
 Changing the map load picture:
this is for maps that you have changed the name on...havent tryed with redoing a map and replacing with origional
Changing the map load picture:
this is for maps that you have changed the name on...havent tryed with redoing a map and replacing with origional
your picture needs to be in the 800 X 600 TGA 24 bits format(uncompressed)i used photoshop 7 to do this..and name your picture loadscreen
now you have to change/add a line in your menu folder in the map you have extracted
using notepad open the menu folder and select the init.con file and open in notepad
at the bottom it has game.setloadpicture/...that line must be changed to this
game.setLoadPicture ../../bf1942/levels/your map name here/Menu/loadscreen.tga
so if my map was boston it would look like this,and don't forget the space between picture and ../..
game.setloadpicture ../../bf1942/levels/boston/menu/loadscreen.tga
now put your picture (loadscreen.tga )in the menu folder-copy and paste if in another folder or save to the menu folder
now repack your map and the picture should be changed..(updated 6/10 9:30pm)
(picture should be named loadscreen NOT loadingscreen...sorry.. |
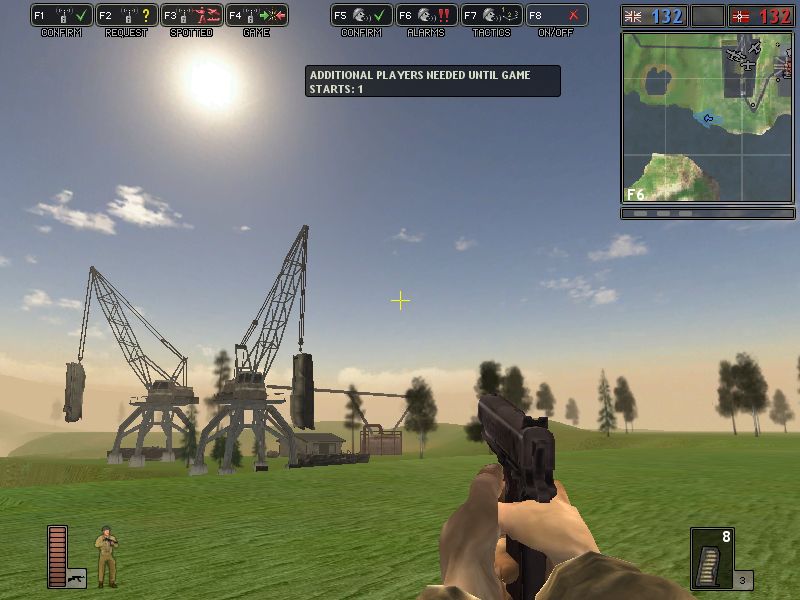
HOW TO CHANGE CAMERA ANGLE WHEN GAME STARTS
when your map loads in and you get into the game it shows a scene from in the game.I will tell you how to change that here:
first with your map already extracted, open your map editor 1.2 and open your map
now go to where you want your intro to be showing (the scene you want to show after the map loads before you select your class)
now make a static object on the map (tree,house,anything)
make sure to raise the object up in the air for more view and lower for less view
now select the item you put on the map and hit the object information button on the side tool bar in the map editor 1.2 it will look like this
afri_bush_8_m1
position:1353.817627/52.738533/805.664429
rotation........
scale........
line number:.......
now write down the three numbers that it shows 1353.817627/52.738533/805.664429 (use the numbers from your map editor not these )
now go and open note pad and go to the init.con file in the main folder of your extracted map and find this at the bottom of the file
rem *** Set team 1 ***
game.setBeforeSpawnCameraPosition 1 1471.133423/158.646637/1019.649719
rem *** Set team 2 ***
game.setBeforeSpawnCameraPosition 2 1471.133423/158.646637/1019.649719
now delete the numbers and replace them with the ones you wrote down and then save and pack up your map and the scene should be different when the game loads in... |
|

